3.8 KiB
Development
This development guide assumes you have Go installed on your development machine, and you have a flexible infrastructure environment where you can control a domain called home.arpa (an example Corefile and db.home.arpa is provided for running with CoreDNS).
Requirements
- An appropriate UNIX-like development workstation like Linux or macOS (Windows is not recommended, unless you use WSL/WSL2).
- Go and CoreDNS installed.
- A cup of coffee ☕️
Setup
- Run
make depsto install the required dependencies for this project. This will install CoreDNS and MiniCA - Run
corednsin a directory that contains the sample Corefile and db.home.arpa to run a local authorities DNS server for the domainhome.arpaused for development purposes. - Run
make certsto create a CA and Certificates for*.home.arpa. You will have to addcerts/minica.pemto your system's certificate trust store. This depends on your system, on macOS you can runopen certs/minica.pemto open the Keychain utility and change the trust for the CA to "Always Trust".
Building
To build the Salty broker saltyd and the command-line Client tools and TUI salty-chat run:
$ make dev
This will build all binaries and run the saltyd broker. You should see something like this on startup:

Configuration
The salty-chat command-line client which also includes a terminal ui (TUI) has a configuration file (in addition to command-line options and environment variables) to make it a bit easier to work with.
Setup a configuration file ($HOME/.config/salty/config.json) with JSON content similar to:
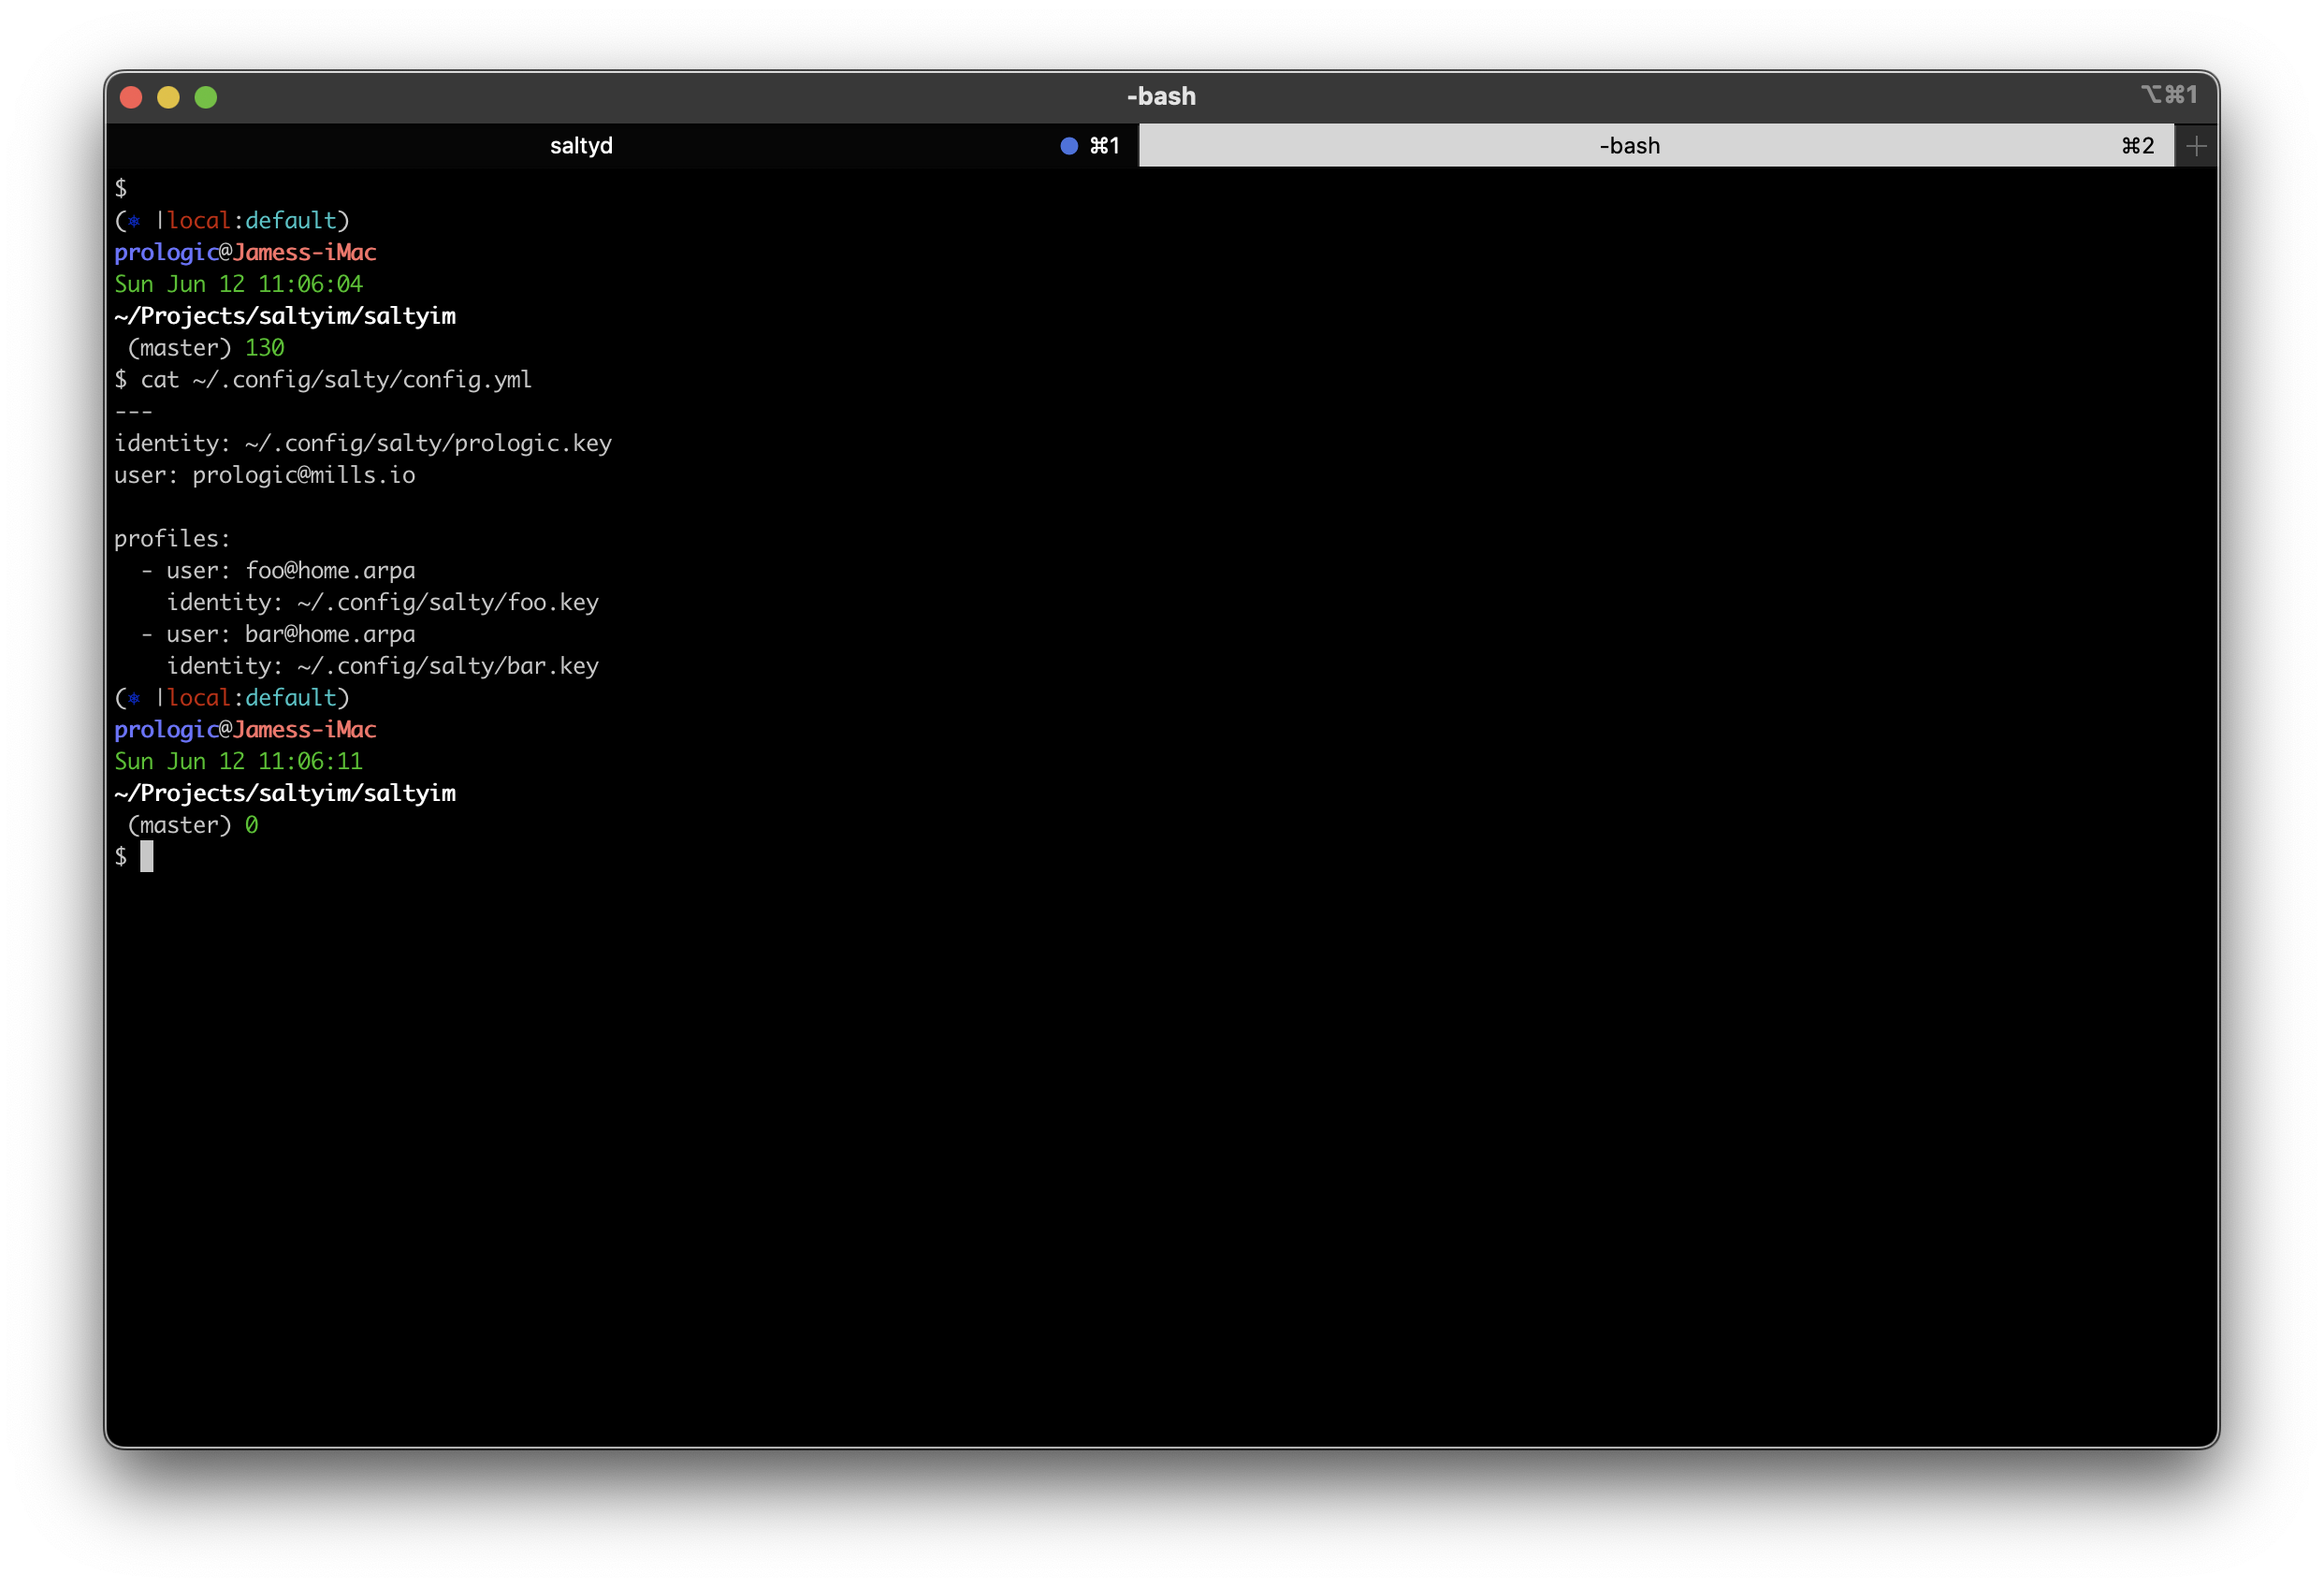
NB: Note that this is taken from my own configuration file where I have setup a default identity and user for my public Salty Address prologic@mills.io.
Identies and Registration
Creating an identity is as simple as running the make-user command:
$ ./salty-chat make-user user@domaiun
However this requires you to setup the Well-Known Configuration manually on a Web server on the Domain. See the Spec and the section on Well-Known URI.
Instead you can create an identity (key pair) and register it against a Salty Broker such as the one running locally from the make dev step above in Building.
$ ./salty-chat register user@domain [optional broker]

NB: Note that the Salty Broker to register against is looked up automatically from the DNS SRV record on the Domain. This is why the DNS Setup step above is important and an important part of the Discovery process and Delegation.
Send and Read
Sending a message to a Salty User and reading from your Salty Inbox is straight forward.
To send a message:
$ ./salty-chat send <address> <message|->
And to read from your inbox:
$ ./salty-chat read
For example (sending a message to bar@home.arpa from foo@home.arpa and reading our bar@home.arpa inbox)"

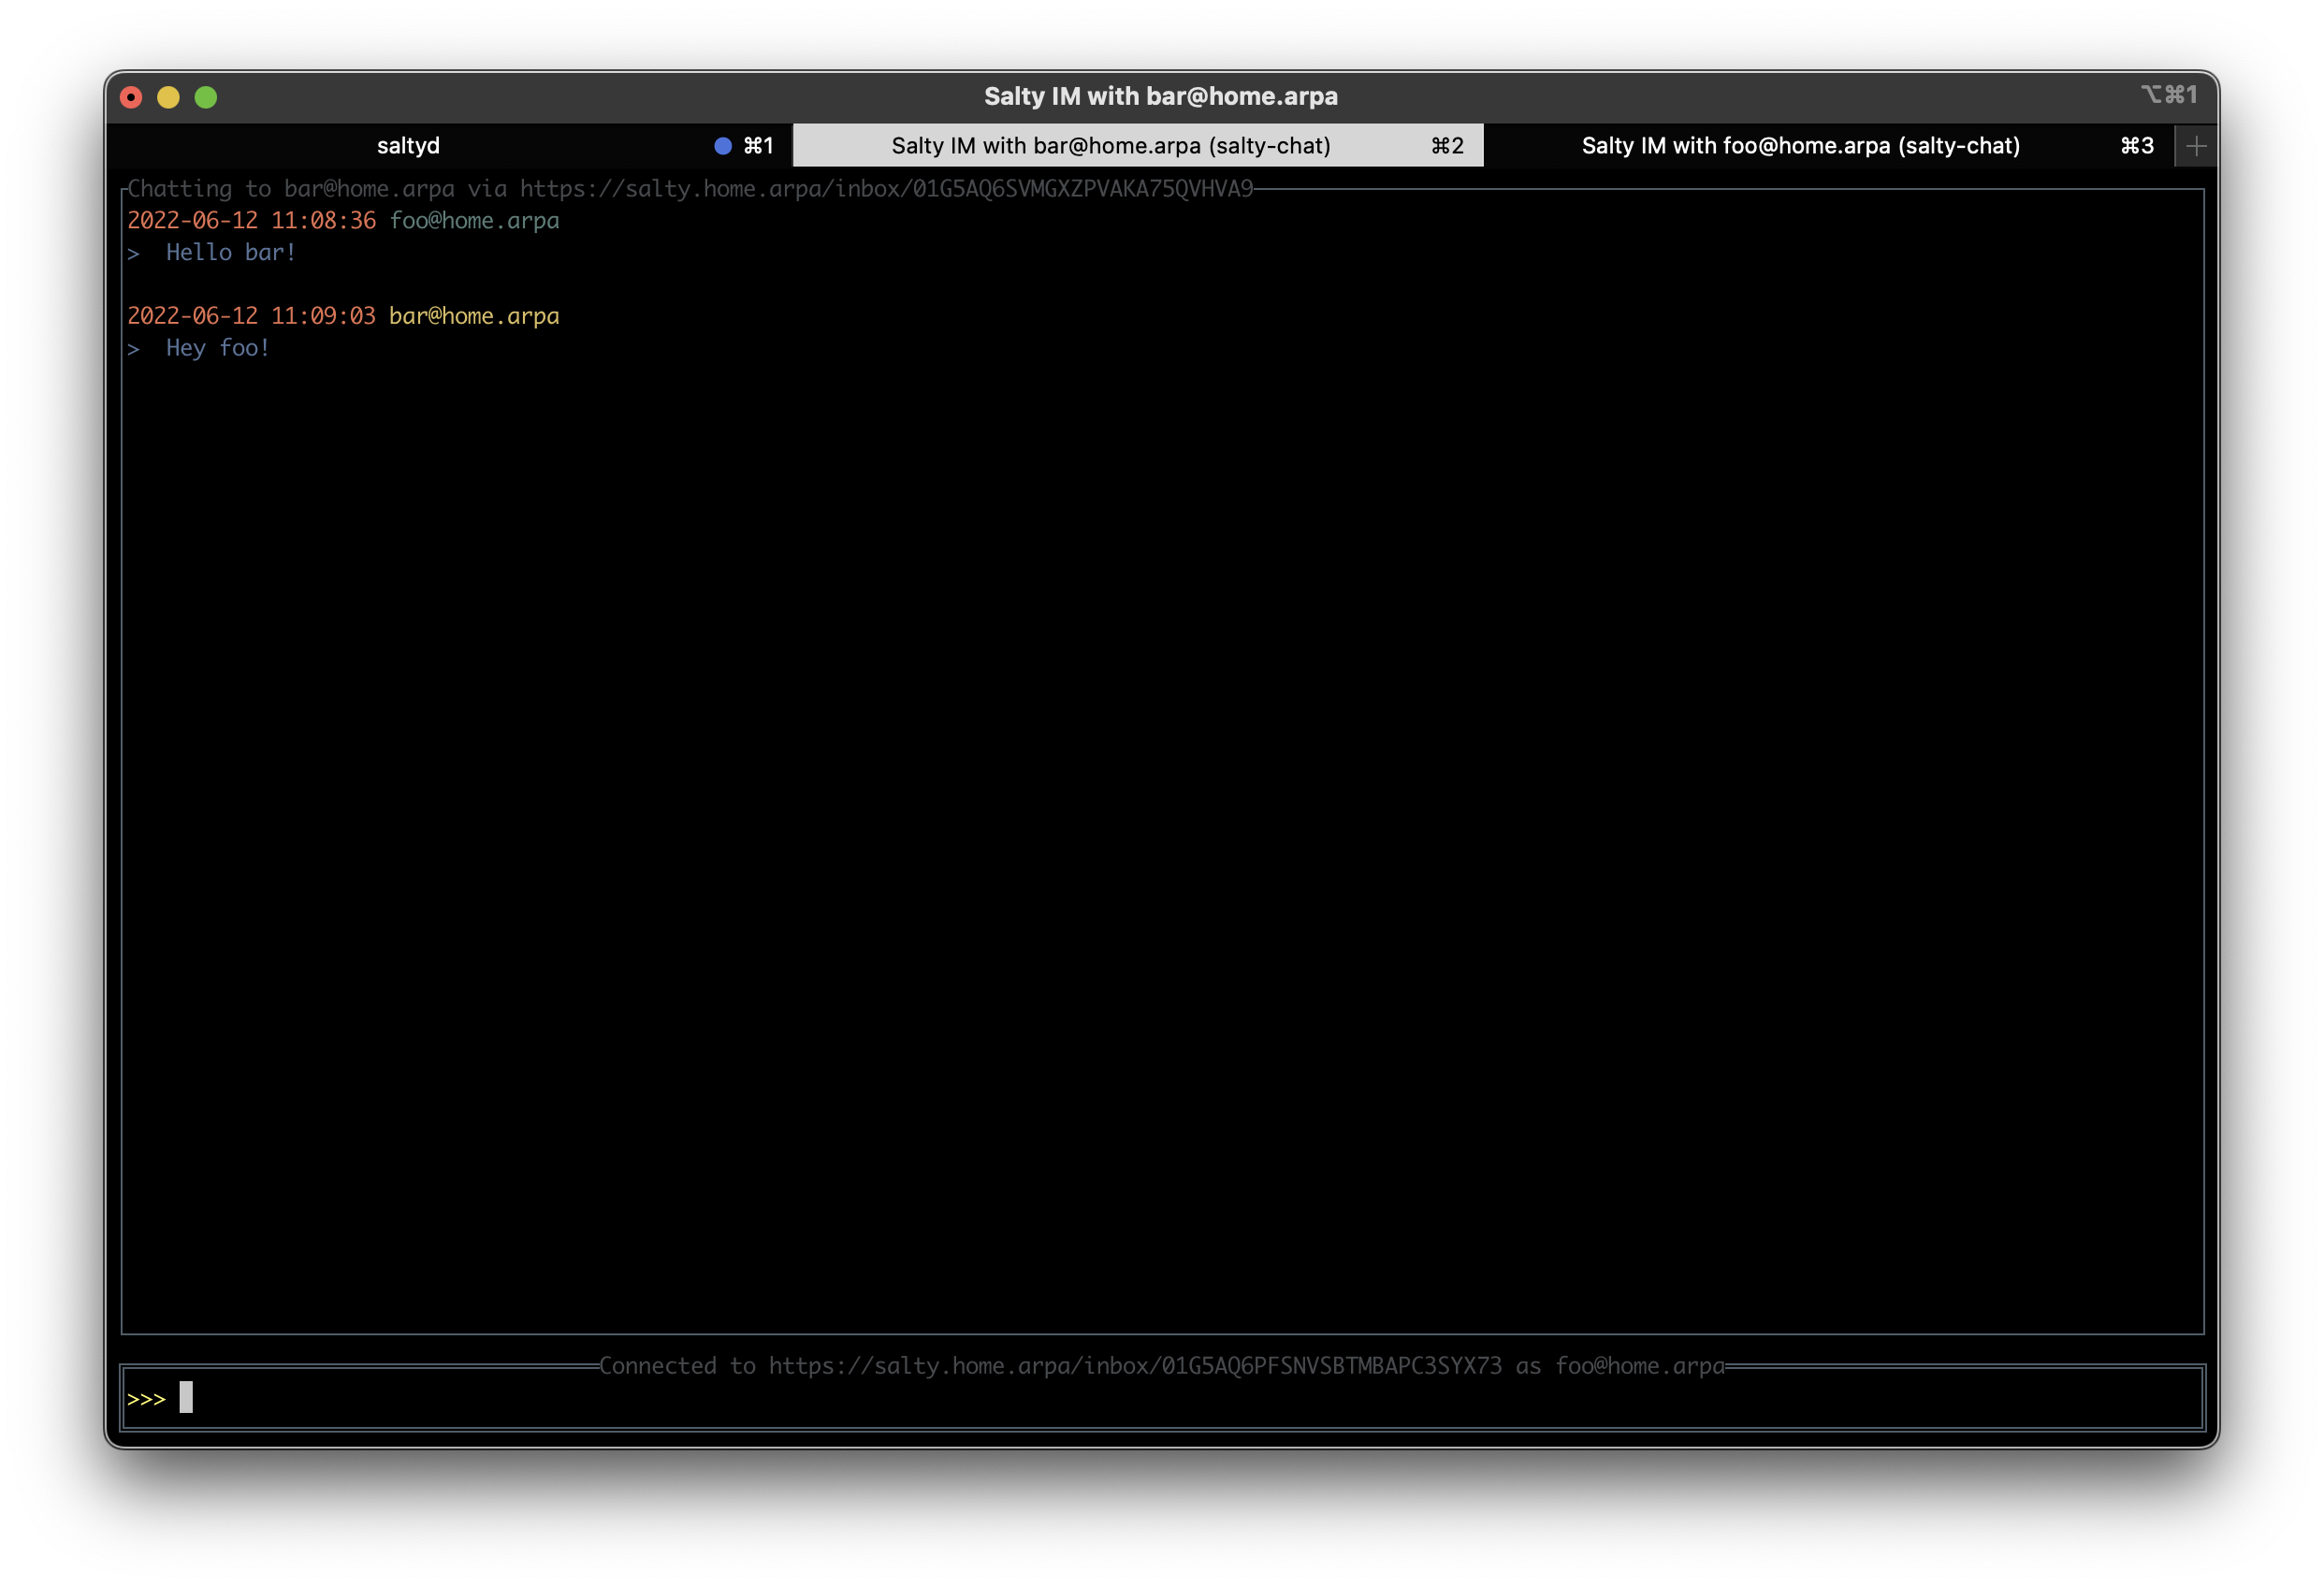
Chat Client (TUI)
In addition to various commands for managing identities, registration, sending and receiving messages, there is also a builtin Terminal UI (TUI) client. Simple run with:
$ ./salty-chat chat <address>
For example chatting with bar@home.arpa from foo@home.arpa:
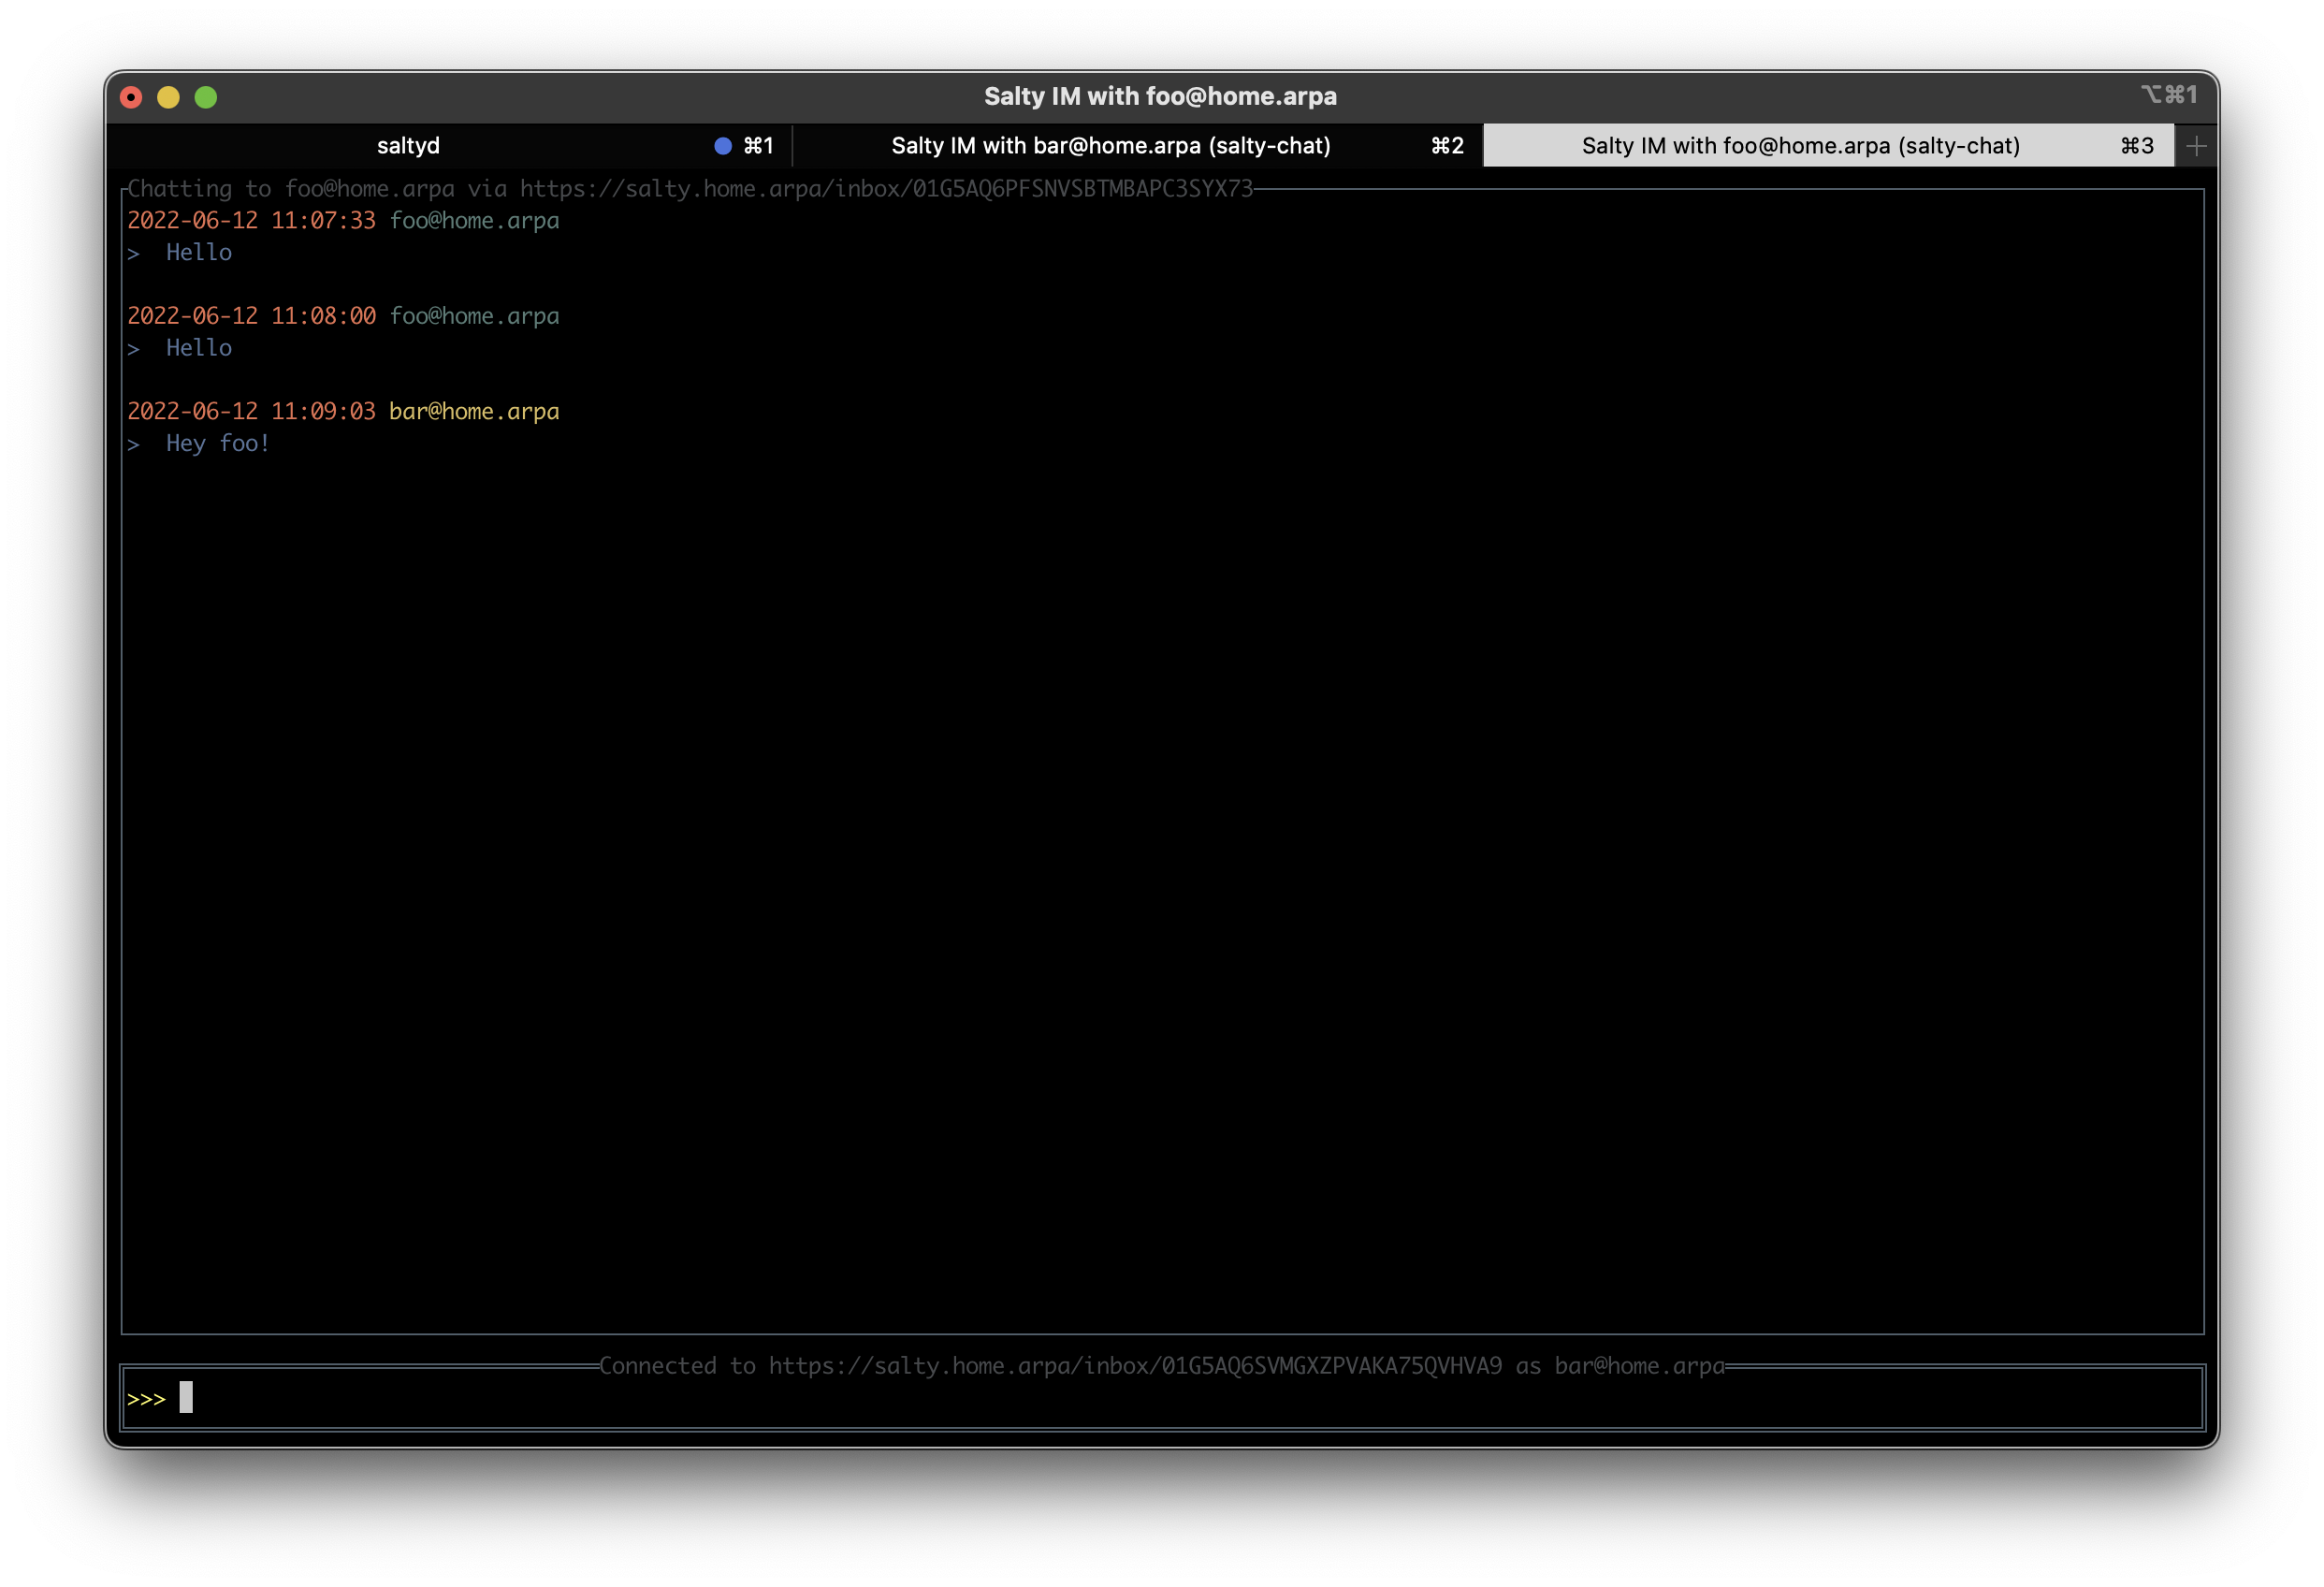
And the other way around: